How to Stagger Vinyl Plank Flooring
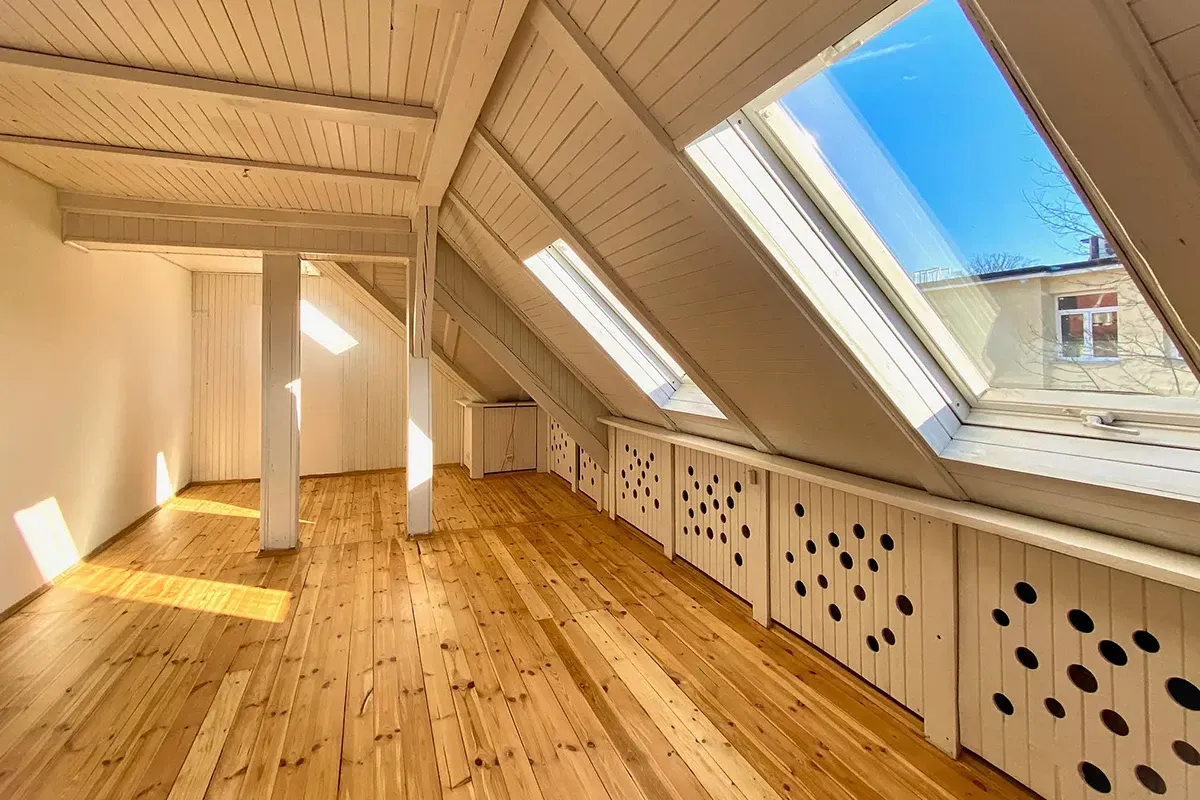
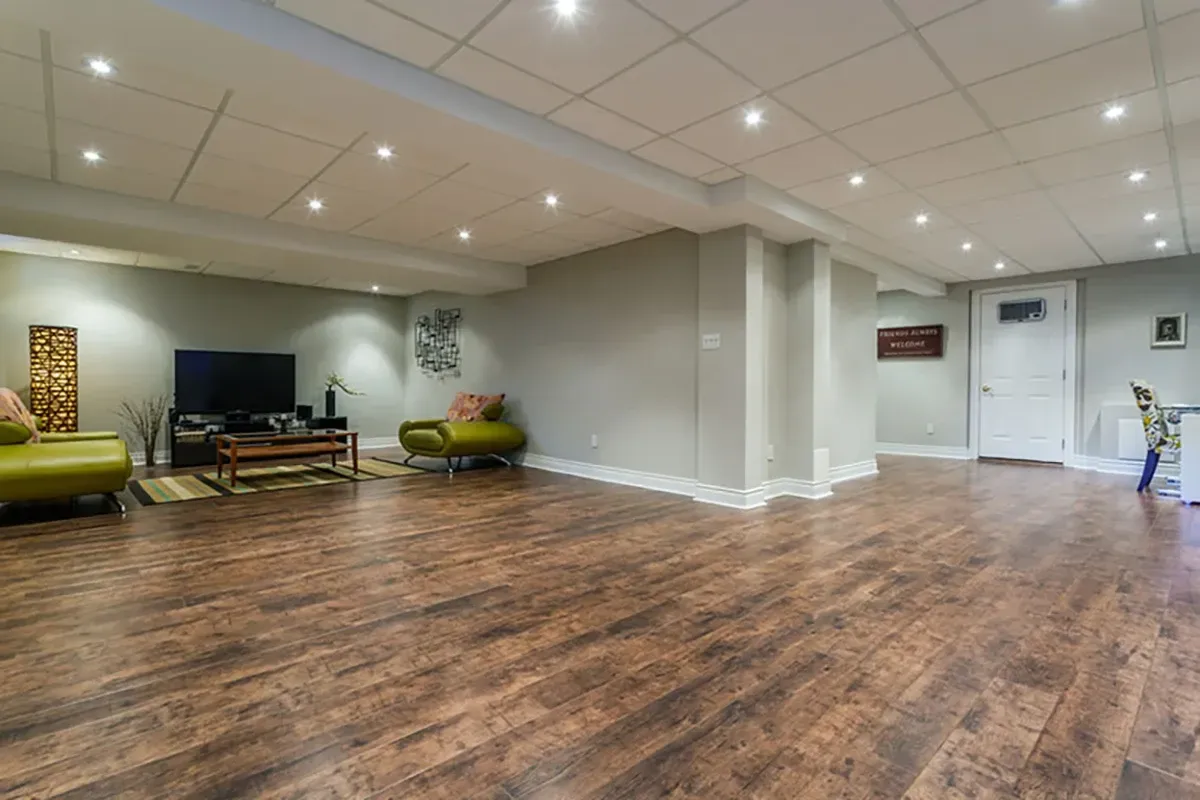
Vinyl plank flooring is a popular and durable choice for homeowners seeking the beauty of hardwood with the practicality of vinyl. Vinyl plank, often called luxury vinyl plank or LVP, is not only stylish but also offers easy maintenance and water resistance, making it ideal for kitchens, bathrooms, and high-traffic areas. One of the key considerations when installing vinyl plank flooring is how to stagger the plank flooring properly to achieve a professional and cohesive look.
In this guide, we’ll teach you how to stagger vinyl plank flooring, step by step. Whether you're a DIY enthusiast or considering professional installation, these tips will help you get a flawless finish.
Why Staggering Vinyl Planks is Important
Before diving into the installation process, it's essential to understand why staggering your LVP planks is crucial. Staggering not only creates a more natural and visually appealing look but also improves the overall strength and durability of your floor. Here’s why:
- Prevents Seam Alignment: Staggering ensures that the seams of your planks don’t line up perfectly in adjacent rows and prevents potential weak spots.
- Enhances Durability: Properly staggered planks distribute weight and foot traffic more evenly, reducing the risk of damage or wear over time.
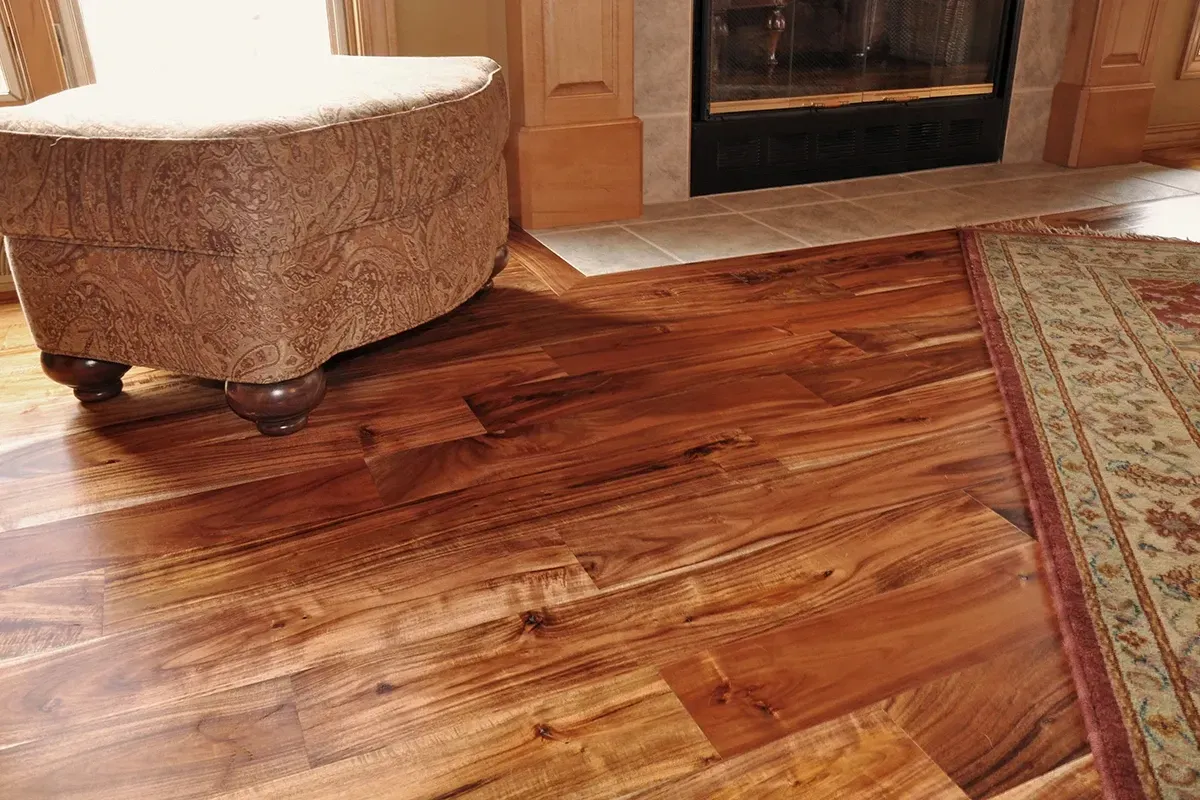
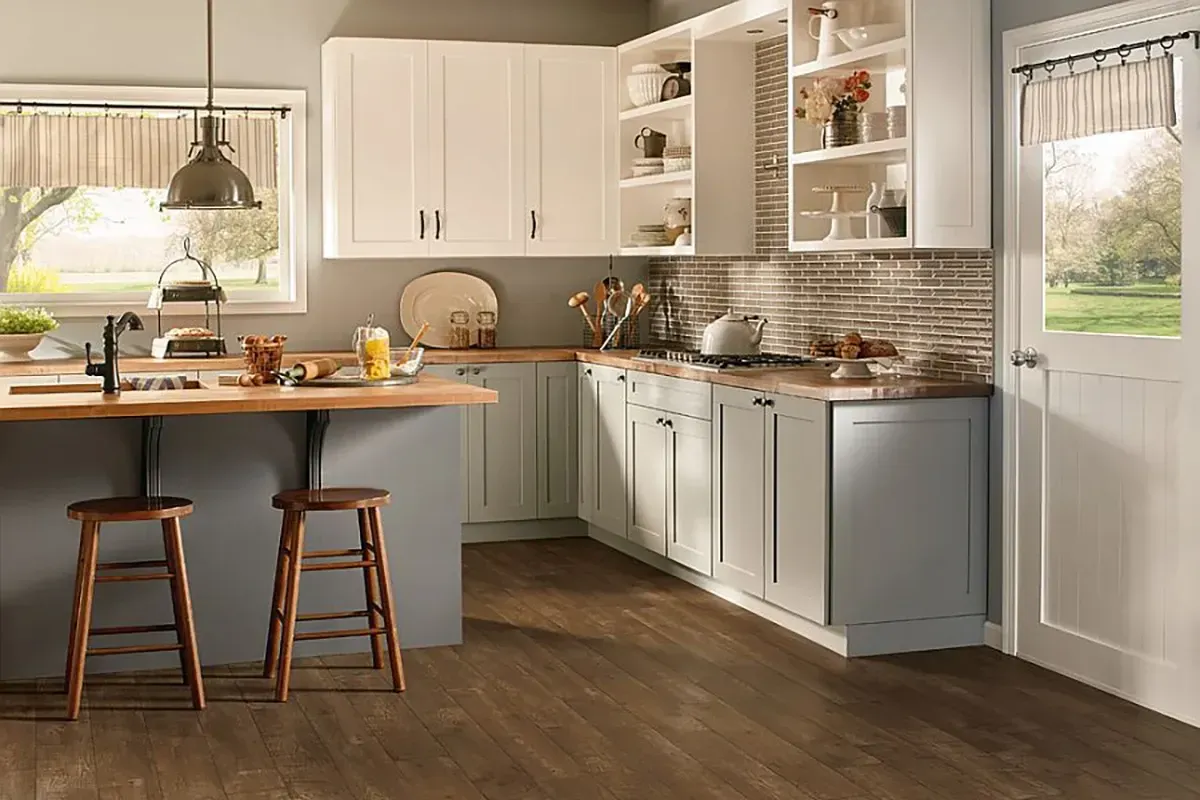
- Improves Aesthetic Appeal: The staggered effect creates a dynamic, fluid look that mimics the appearance of traditional hardwood flooring, making your space feel more inviting and visually interesting.
Tools and Materials You’ll Need for Installation
Before you begin installing vinyl plank flooring, gather the necessary tools and materials:
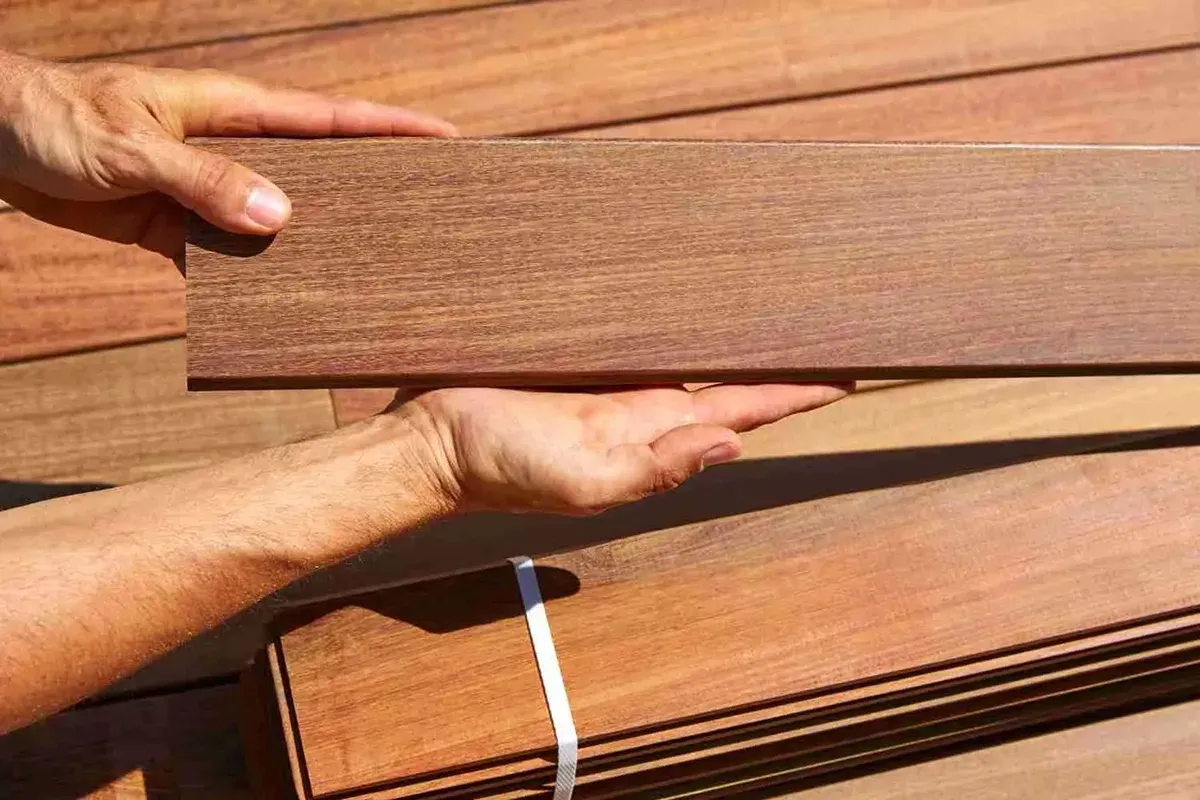
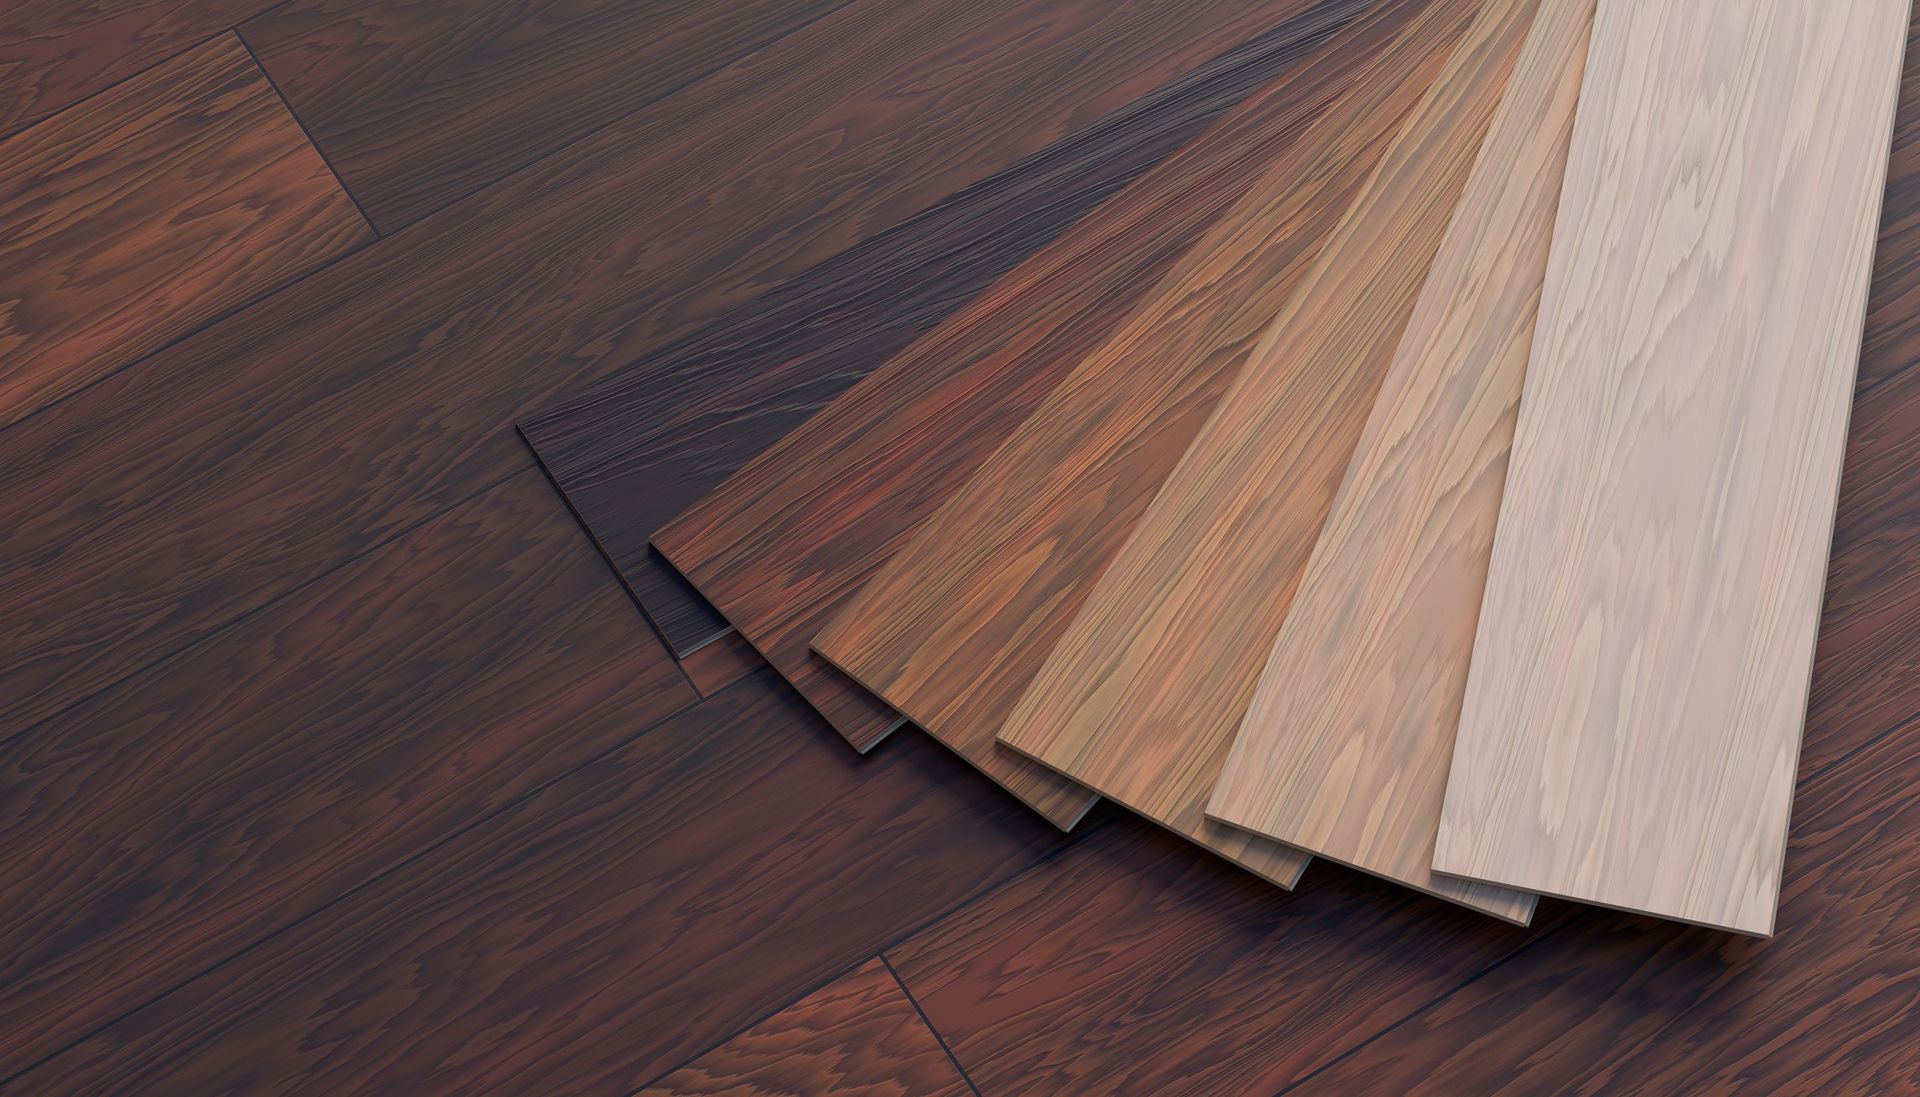
- Vinyl Plank Flooring: Choose your preferred style and color. We invite local residents to visit our floor store in Portland, Oregon.
- Transition Moldings: Select from Reducer, T-Molding or Endcap/Threshold.
- Tape Measure: For precise measurements of the room and planks.
- Utility Knife, Chop Saw, Table Saw & Jig Saw: For cutting the planks.
- Spacers: To maintain an expansion gap around the edges of the room.
- Tapping Block: To tap planks into place without damaging them.
- Rubber Mallet: Used in tandem with the tapping block to gently tap the planks into place.
- Level: To ensure the surface is even before installation.
- Pencil or Chalk Line: For marking the starting line.
How to Stagger Vinyl Plank Flooring in 6 Steps:
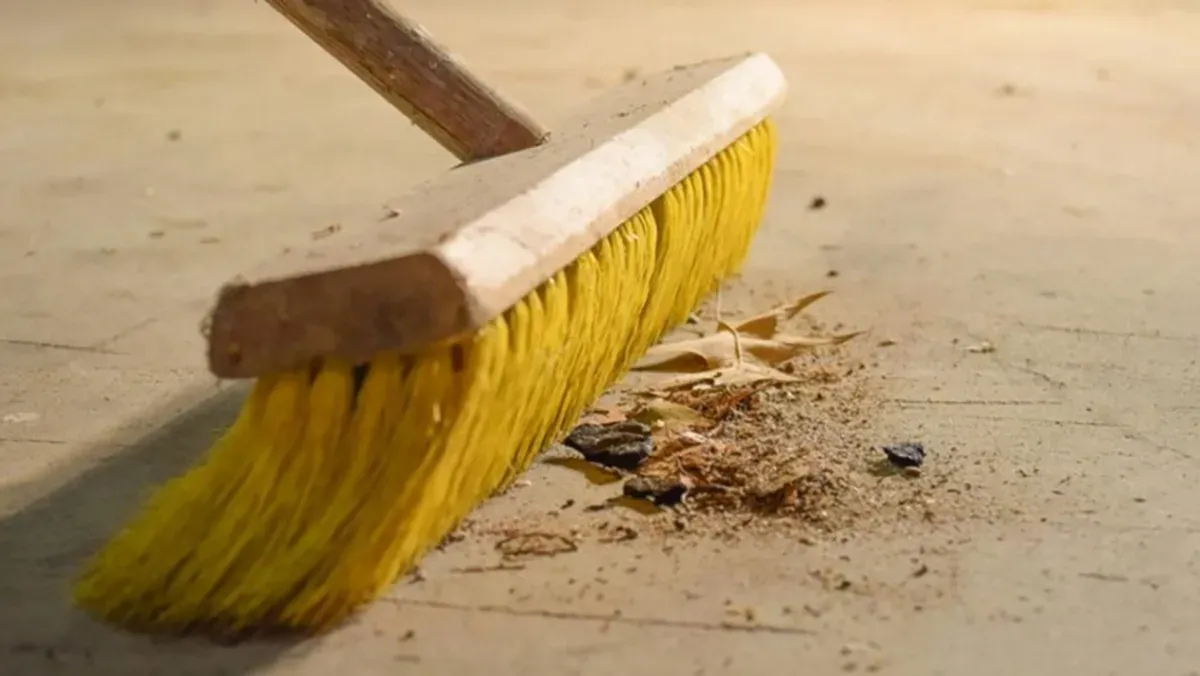
Step 1: Prepare the Subfloor
Before you begin to stagger vinyl plank flooring, ensure the subfloor is clean, dry, and level. The subfloor serves as the foundation for your vinyl planks, so any imperfections will affect the final installation.
- Clean the Subfloor: Sweep or vacuum to remove dust, dirt, or debris.
- Check for Level: Use a level to make sure the subfloor is even. If necessary, sand down any high spots or fill in low spots with a leveling compound.
- Allow for Expansion: LVP expands and contracts with temperature and humidity changes, so it’s important to leave an expansion gap around the edges of the room. This gap should be about 1/4 inch, but refer to the manufacturer's specifications, as instructions often vary between suppliers.
For more information, visit out article: What is a Subfloor? Installation, Replacement & FAQ's
Step 2: Plan Your Layout
Planning the layout before installation will help ensure that your staggered vinyl planks look balanced and professional. Here are some things to consider:
- Determine the Starting Point: Typically, you’ll start along the longest wall of the room. Use a tape measure to find the center of the room and snap a chalk line along this axis to guide your first row of planks.
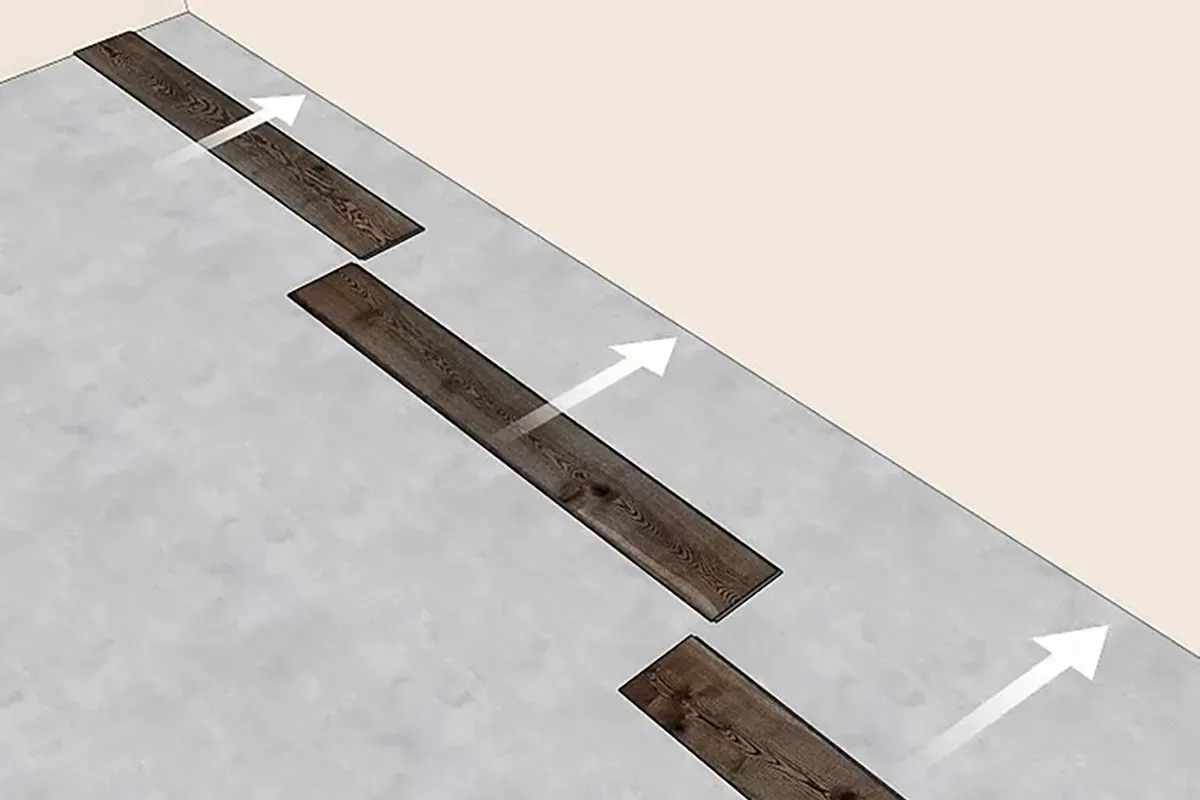
- Stagger the Seams: The key to achieving a natural-looking stagger vinyl plank flooring is to avoid placing seams in the same spot in adjacent rows. Start by cutting the first plank of the second row to a random length, creating a staggered pattern. Aim for a stagger of at least 6 inches between seams. For a more authentic look, vary the lengths of the planks in a random order.

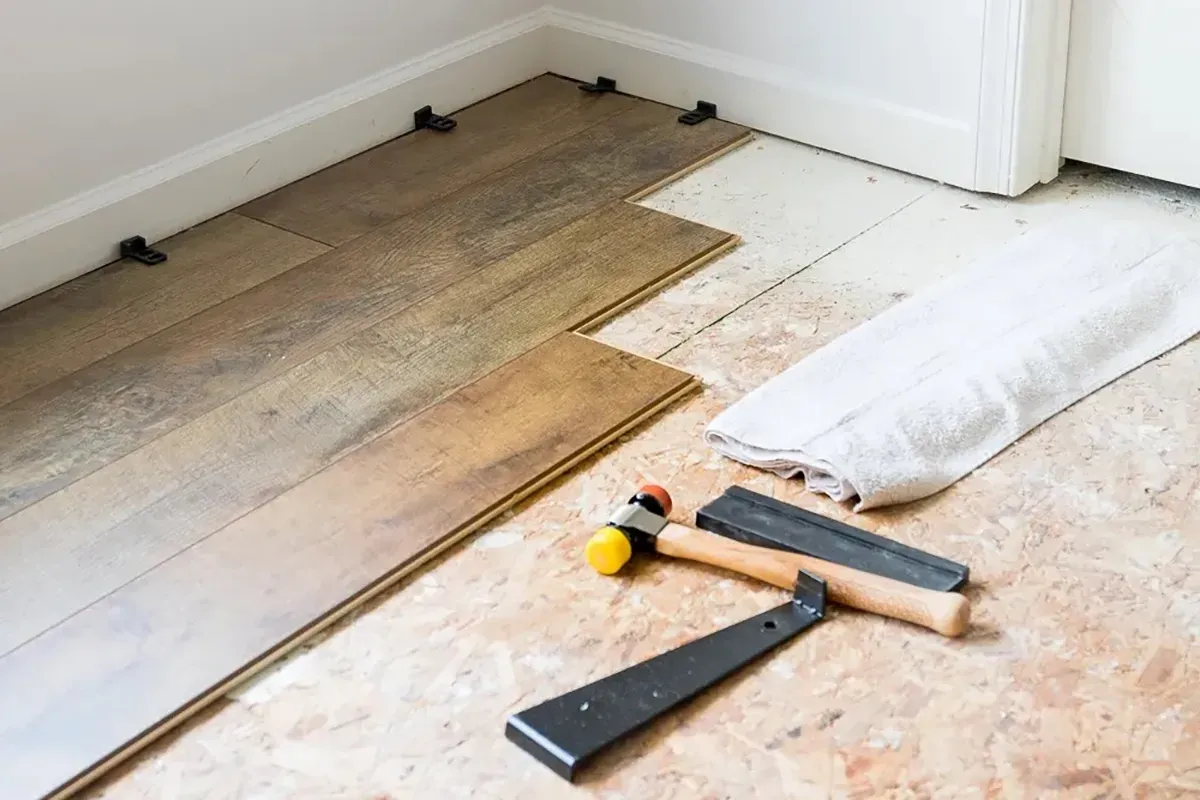
Step 3: Install the First Row
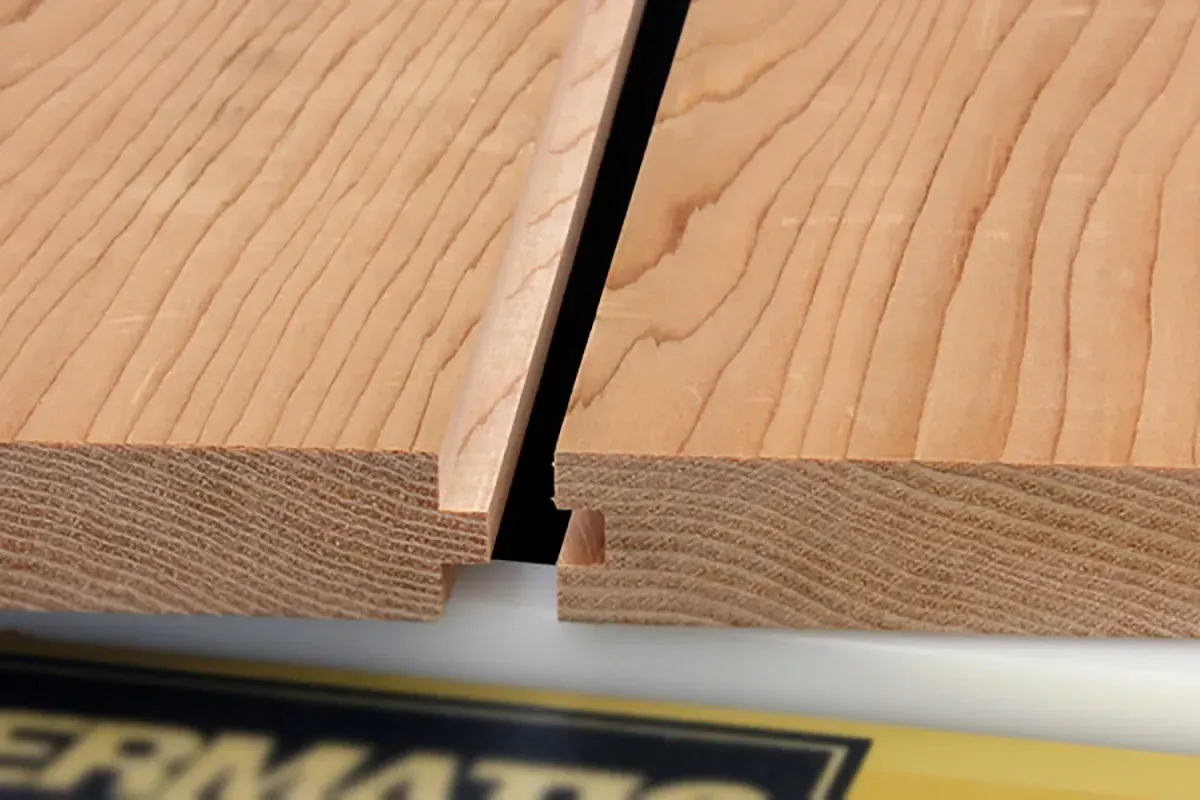
Begin by installing the first row of vinyl planks along the chalk line or center line that you marked. The tongue-and-groove flooring installation method is most common for LVP, where the planks click together to form a tight seal. Here’s how to stagger the first row:
- Place the First Plank: Position the first plank along the wall with the groove side facing the wall.
- Leave an Expansion Gap: Use spacers along the edges of the planks to maintain a 1/4-inch gap from the wall, which will allow the vinyl plank to expand and contract.
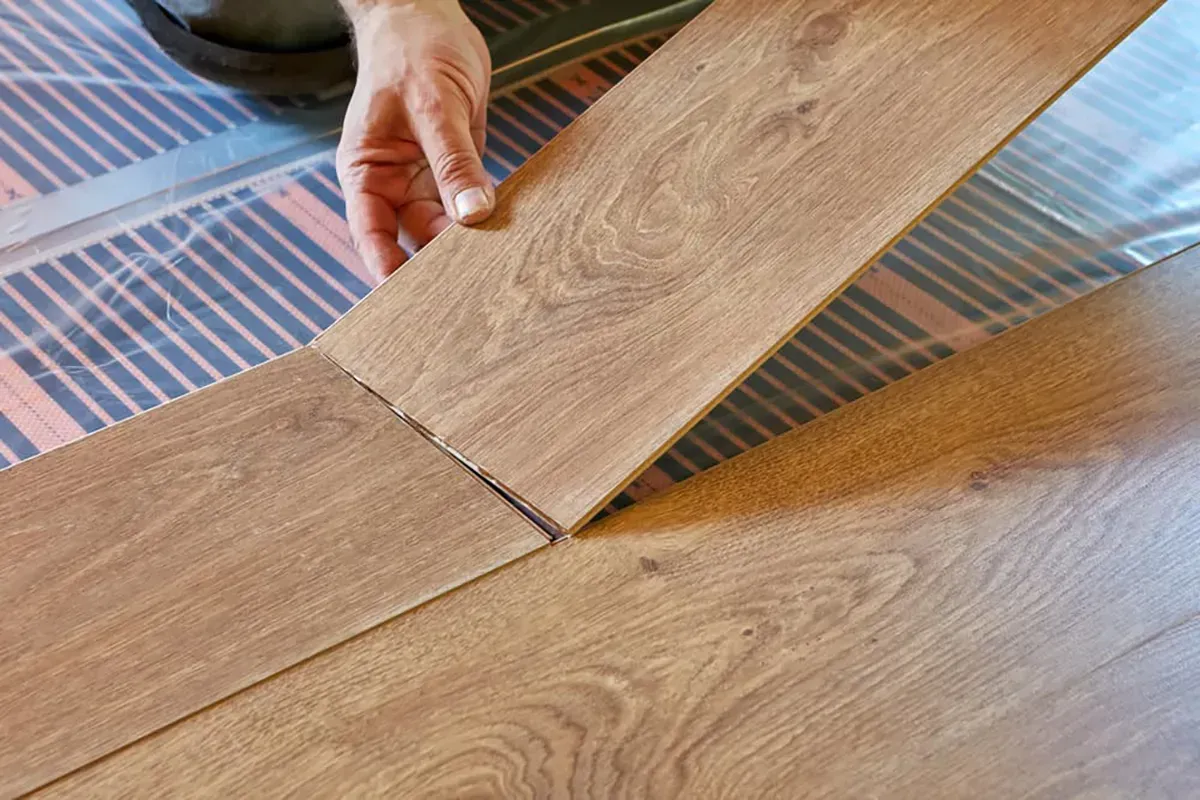
- Click the Planks Together: Insert the tongue of the next plank into the groove of the first plank and click them into place. Tap gently with a rubber mallet to ensure the planks lock together tightly.
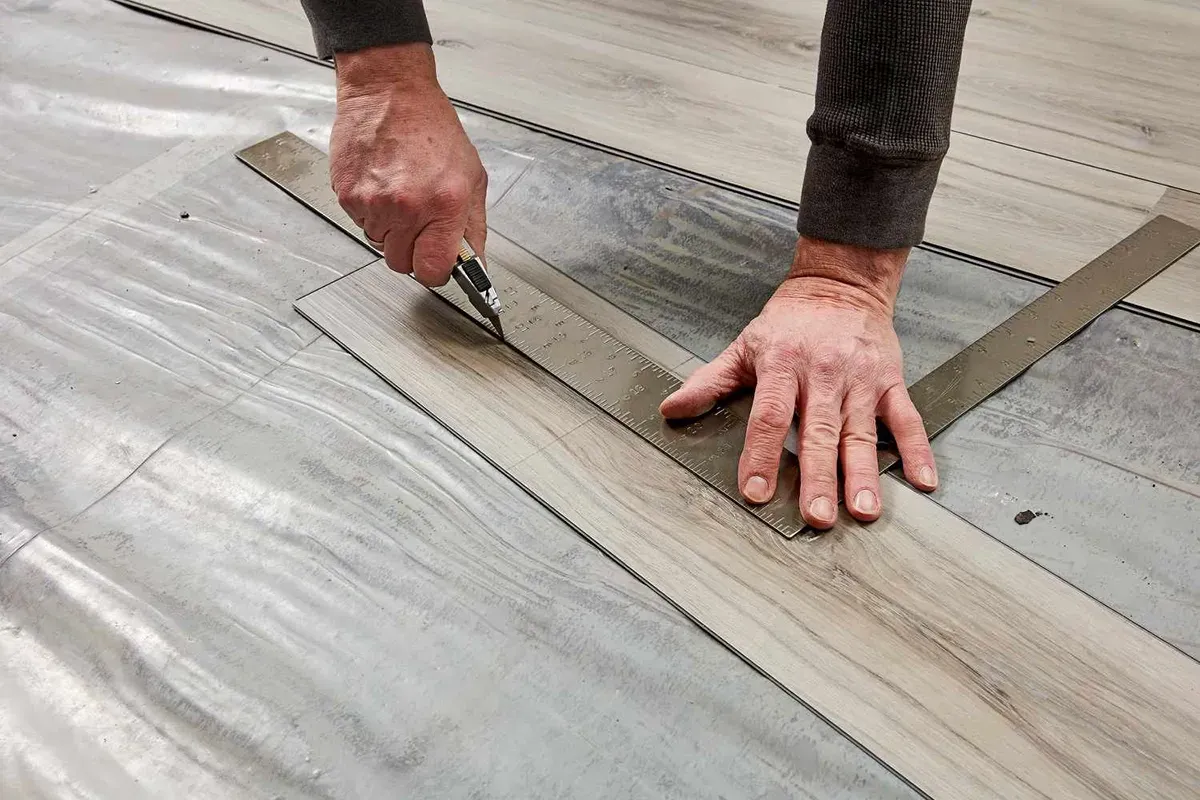
- Cut the Last Plank: You may need to cut the last plank of the row to fit. Use a utility knife to score the plank and snap it to size, or use a power saw.
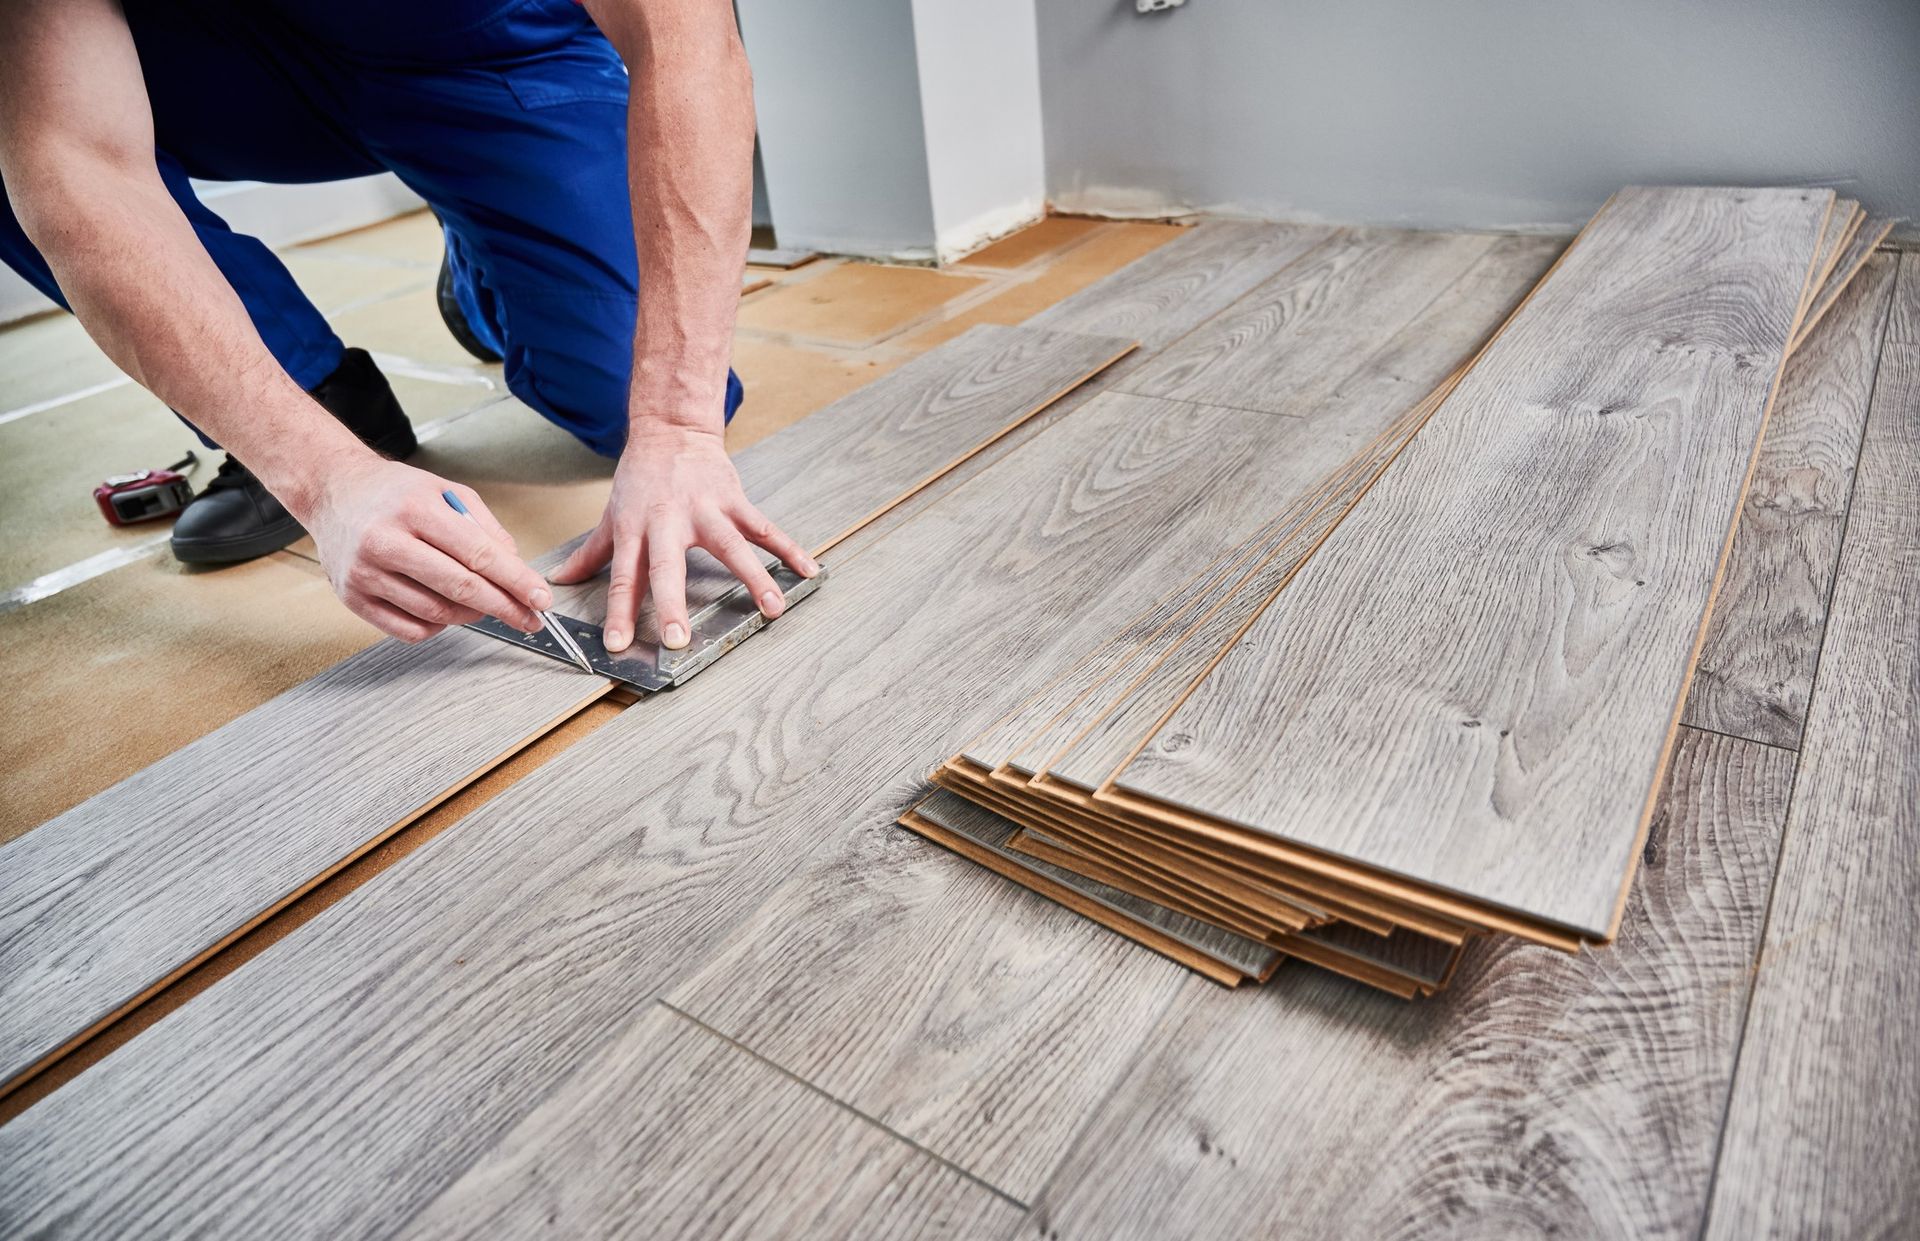
Step 4: Stagger Remaining Rows
Continue installing subsequent rows, ensuring that the seams are staggered in a random pattern. Follow these steps:
- Measure and Cut: For each new row, measure the space available, cut the vinyl planks to size, and ensure the seams are offset from the previous row.
- Use a Tapping Block: To ensure the planks fit snugly together, tap each plank into place using a tapping block and rubber mallet. Avoid using a hammer directly on the planks, as it can damage the edges.
- Check Alignment: Periodically check that your rows are straight and aligned with the chalk line.
Step 5: Cut Around Obstacles
In most rooms, you’ll need to cut planks to fit around obstacles like doorways, vents, or corners. Here's how to handle these tricky areas:
- Measure the Space: Use a pencil to mark the areas where the plank needs to be cut.
- Cut Carefully: Use a utility knife to score and cut the plank. If the cut is intricate, a jigsaw or handsaw may be necessary.
- Fit the Planks: Place the cut vinyl planks around the obstacle and ensure they fit cleanly and with the appropriate exapansion joint.
Step 6: Stagger Last Row and Trim
Once you’ve staggered the last row of planks, you may need to trim them to fit. Measure the distance between the last row and the wall, then cut the planks to the appropriate size.
- Fit the Final Planks: Lock the last row of planks into place. Use a pull bar and mallet to ensure a tight fit.
- Install Baseboards: Once the planks are installed, remove the spacers and install baseboards or quarter-round molding to cover the expansion gap and give the floor a clean, finished look. Be sure to install the trim into the sheetrock, and not into the flooring, as nailing into the flooring effects the expansion & contraction.
4 Tips for a Successful LVP Installation
- Allow the Planks to Acclimate: Before installing your LVP, let the planks acclimate in the room for at least 24 hours to adjust to the temperature and humidity.
- Use Spacers: Always use spacers along the edges of the room to ensure proper expansion gaps.
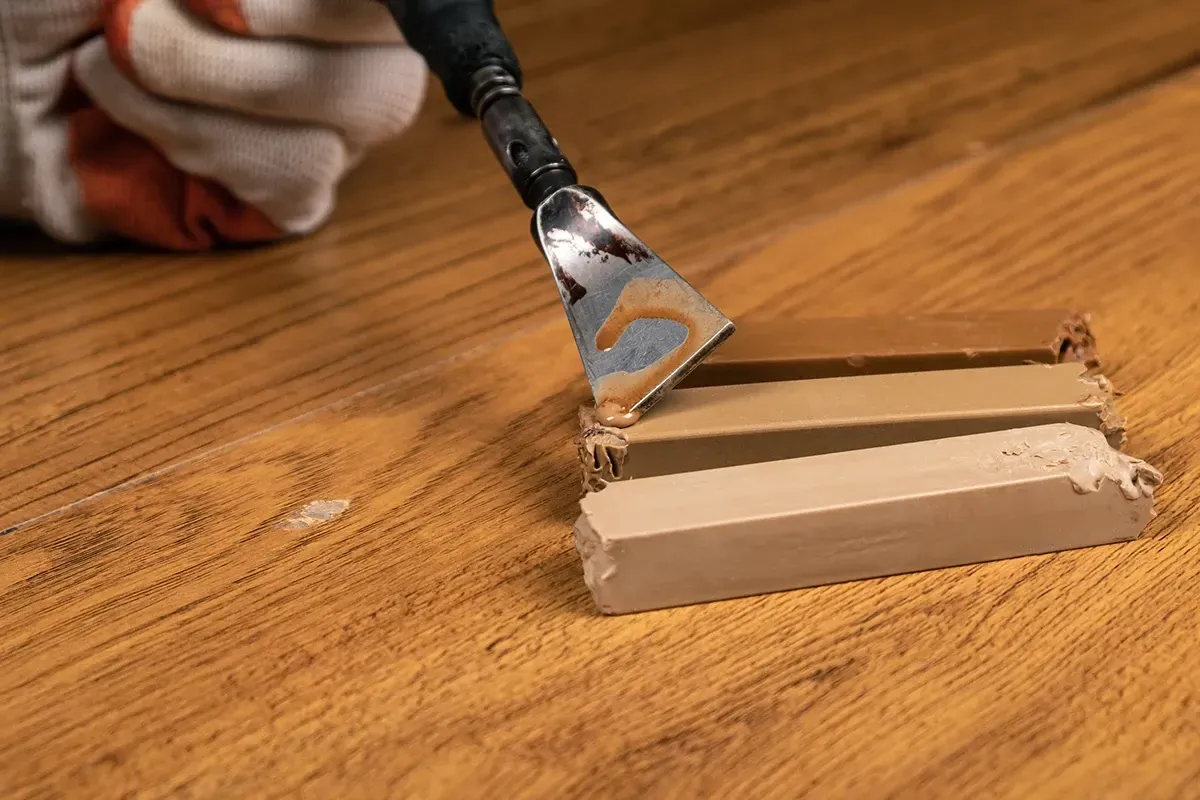
- Ensure Proper Adhesion: If your LVP requires glue, make sure the adhesive is evenly applied, and follow the manufacturer's instructions.
- Work in Sections: Install the planks in smaller sections to avoid mistakes and make the process more manageable.
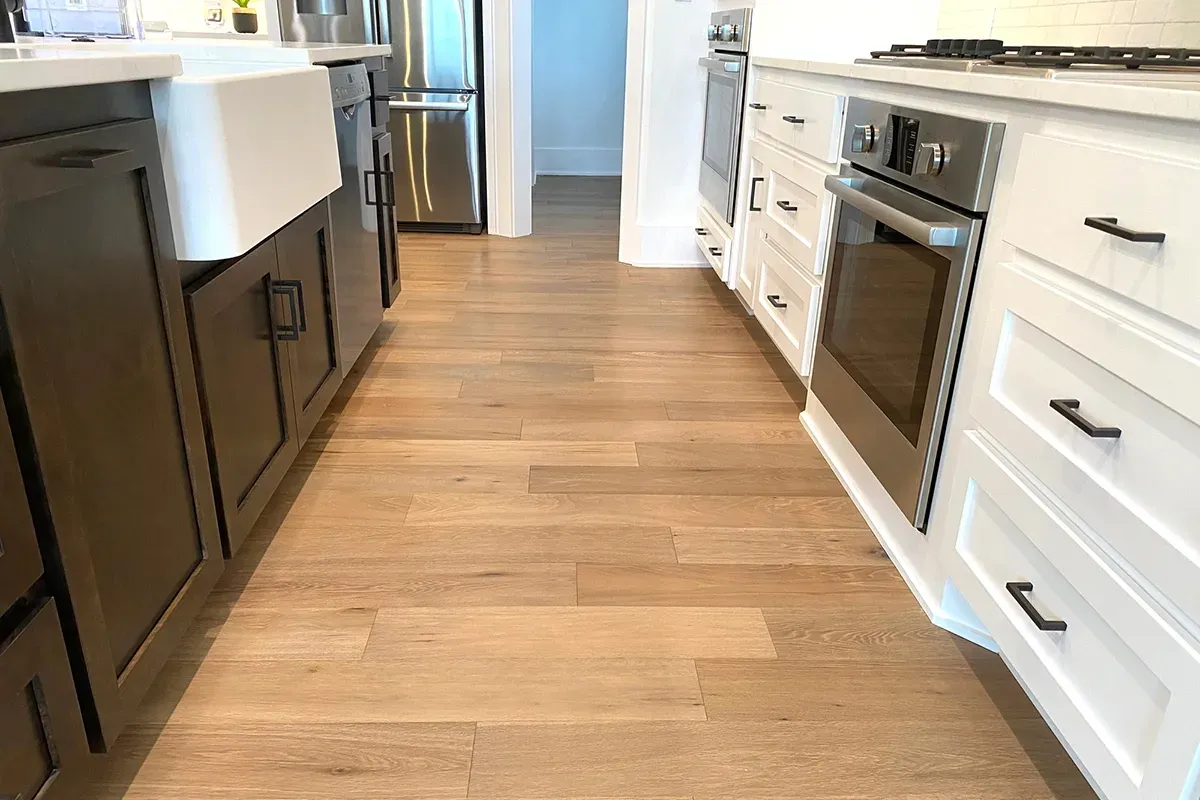
Want to see some before & afters? We recently installed some luxury vinyl flooring in Sherwood, OR. Take a look.
Conclusion
Learning how to stagger vinyl plank flooring is a straightforward process, but careful planning and attention to detail are essential to achieving a professional, long-lasting finish. Whether you're installing LVP in a high-traffic area or a more tranquil space, the right installation technique ensures your floors will look beautiful for years to come.
If you'd like to
buy vinyl plank flooring in your home, Rejuvenation Floor and Design can help you select the best options and guide you through the installation process. Contact us today for expert advice and premium LVP flooring options!
Recent Articles