Direction Change in Wood Flooring Using Splines
Author: Levi Winkler, Flooring Expert & Owner of Rejuvenation Floor & Design
Ah, the spline! Often overlooked yet incredibly vital in the world of hardwood flooring, the humble spline acts as a bridge connecting two planks in perfect harmony. Whether you’re crafting an intricate design pattern or maneuvering around challenging structural features in your space, a spline can be just what you need to save the day. Much like a wooden dowel, a spline slips between the planks, facilitating a change in direction. This article will explore the importance of splines, their applications, and step-by-step guidance on using them effectively.
What is a Spline?
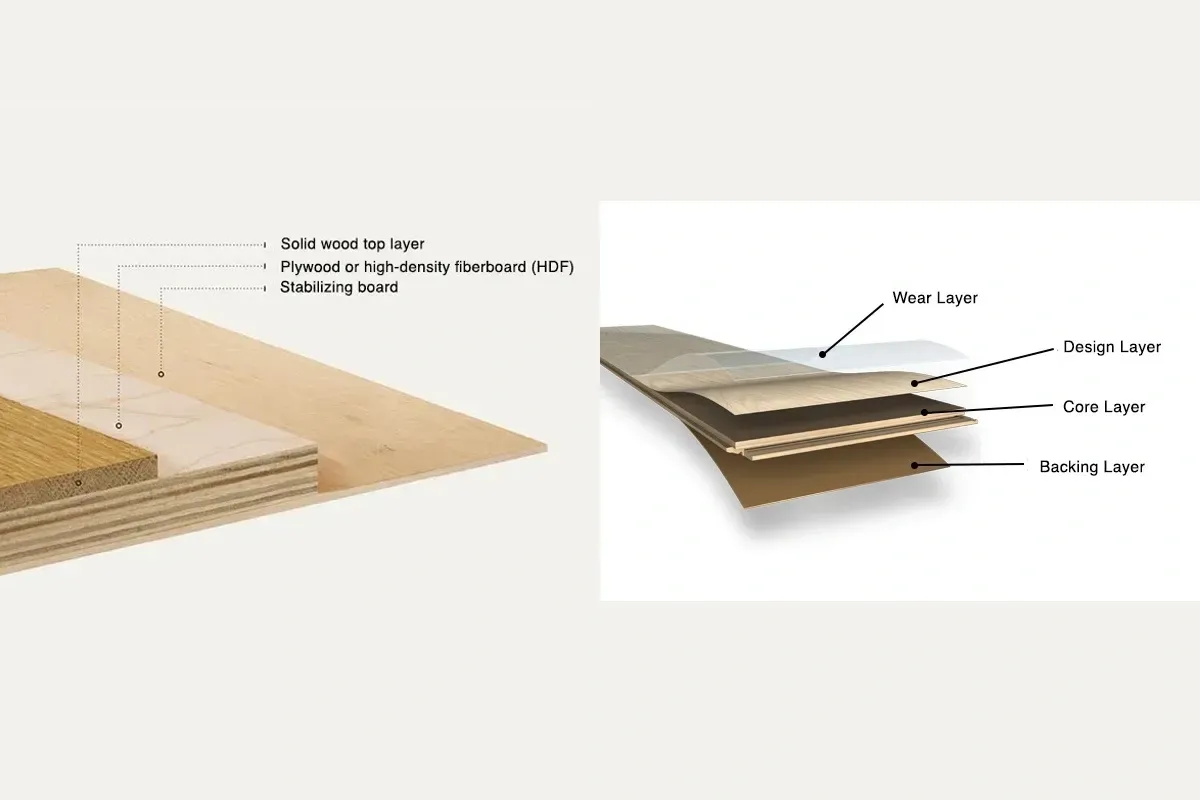
A spline is a thin, flat piece of wood that fits into a groove cut into the edge of hardwood flooring planks. This tool allows you to change the direction of your flooring seamlessly, providing a professional look and maintaining structural integrity. Splines come in various sizes and can be made from the same wood as the flooring for a uniform appearance or from a contrasting material for a unique aesthetic.
Why Use a Spline in Wood Flooring?
1. Creating Design Patterns
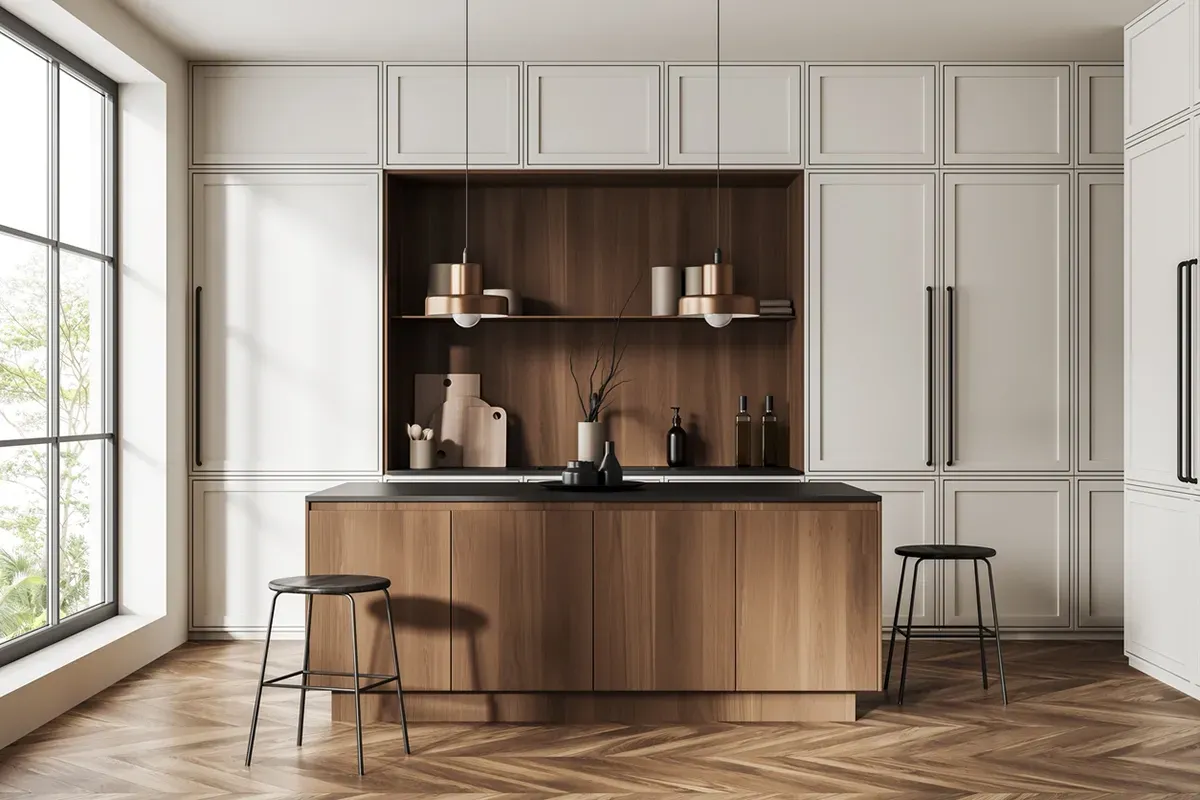
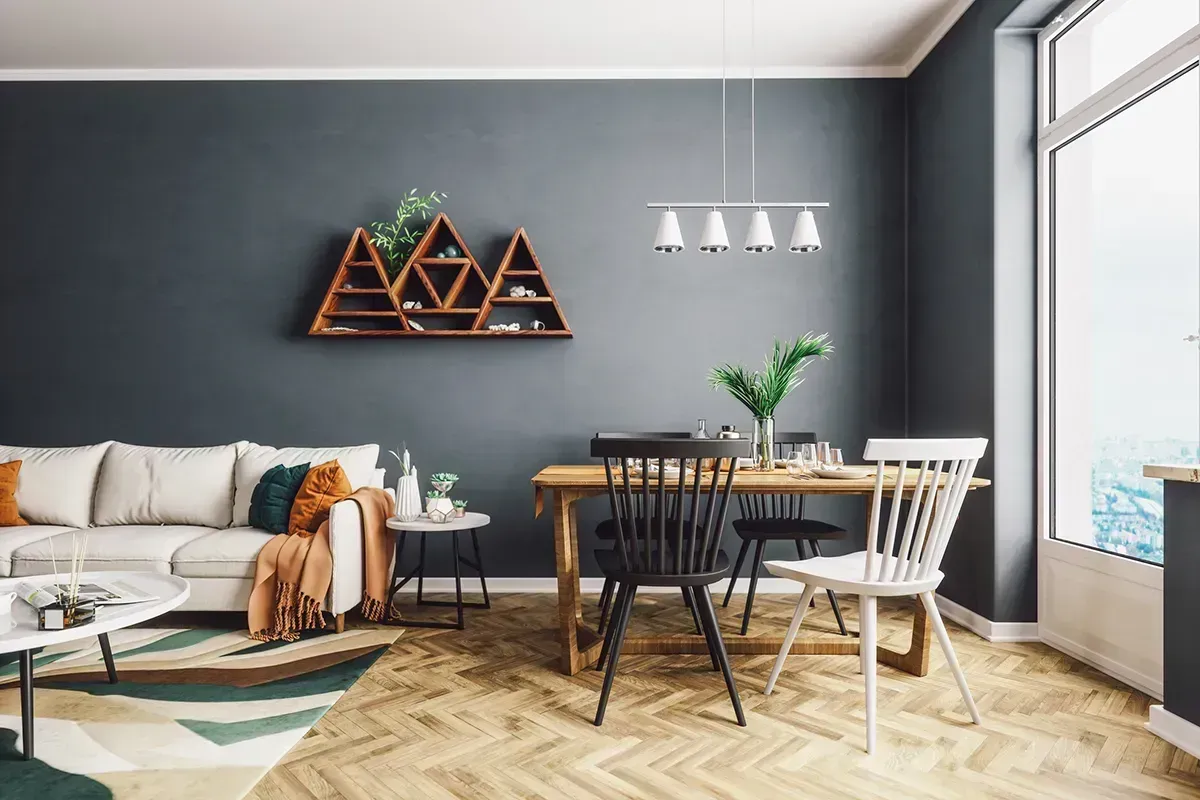
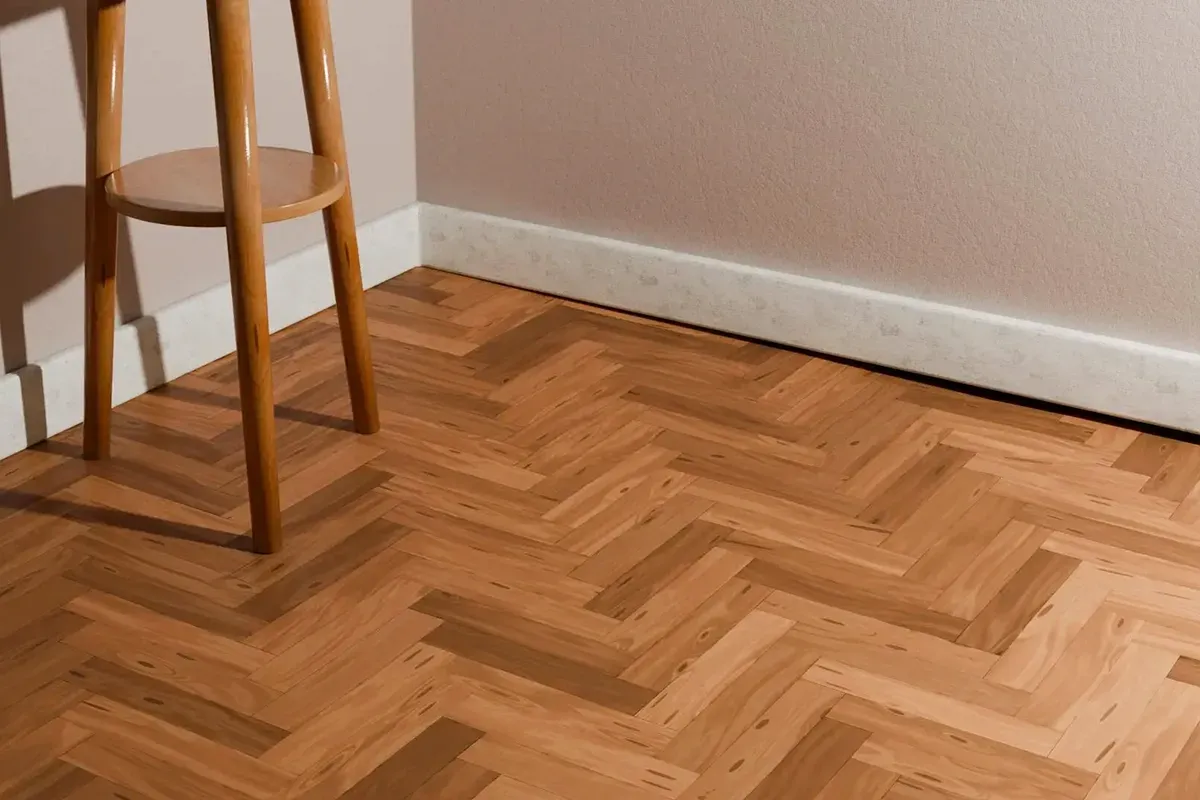
One of the primary uses of a spline is to create intricate design patterns in your flooring. Whether you’re interested in a herringbone or chevron pattern or simply want to change the direction of your planks, splines make it possible. By allowing different rows of flooring to be oriented differently, you can achieve a stunning visual effect that enhances the overall design of your space.
2. Transitioning Between Rooms
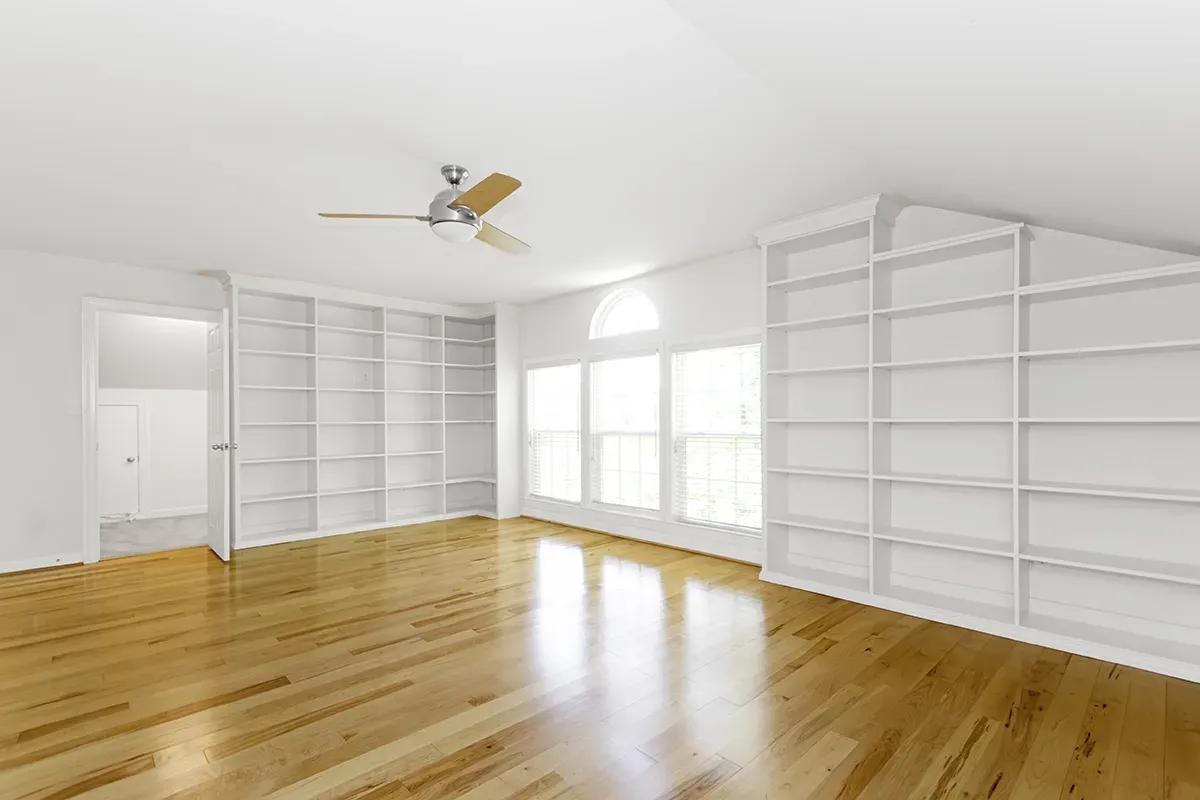
When transitioning from one room to another, it's essential to alter the direction of the flooring planks gracefully. This is particularly true if you have a hallway or doorway that lacks a smooth transition. Using splines, you can change the direction of your flooring to create a seamless flow from one area to another, maintaining a cohesive look throughout your home.
3. Navigating Structural Features
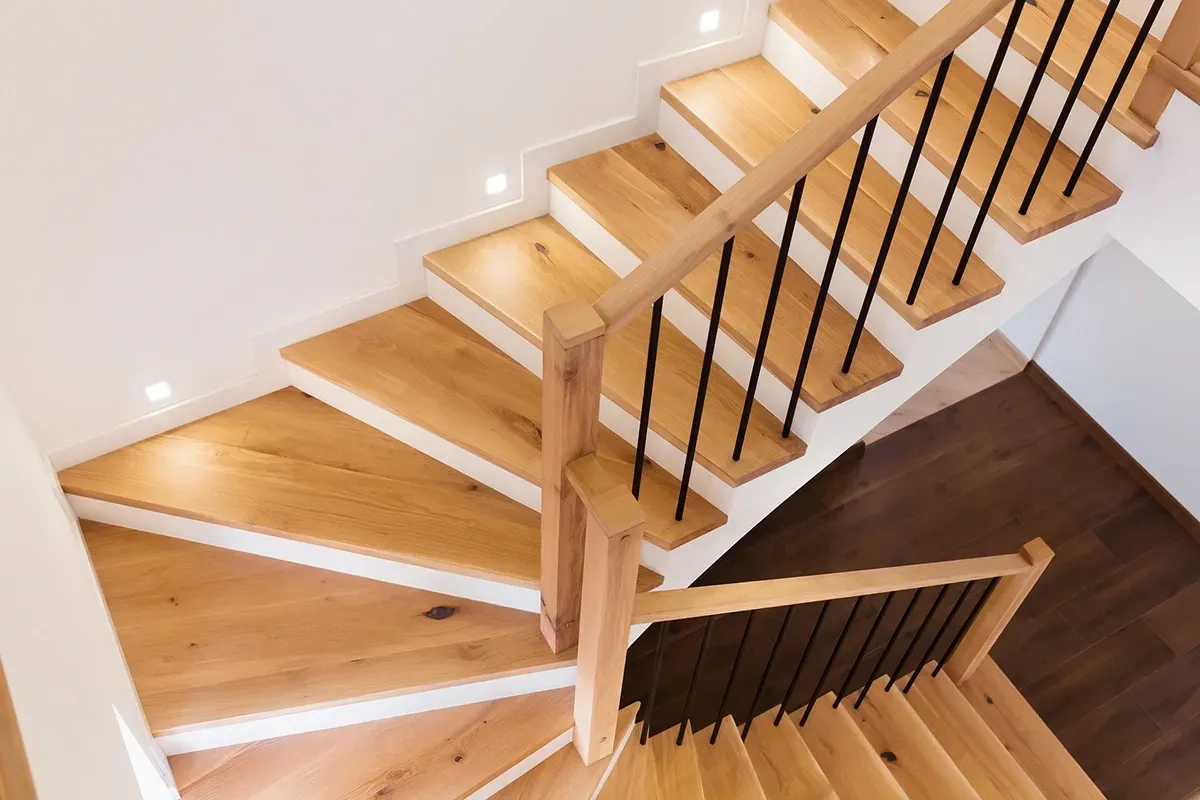
In many homes, structural features such as columns, beams, or uneven walls can complicate flooring installation. Splines provide a flexible solution to navigate these obstacles, allowing you to change the direction of your flooring planks without compromising the aesthetic or structural integrity of your flooring.
Preparing for Installation: Getting the Subfloor in Shape
Before embarking on your flooring project, it’s crucial to ensure that the subfloor is in optimal condition. A proper subfloor is key to achieving a successful installation. Here’s how to prepare your subfloor:
1. Inspect and Clean the Subfloor
Start by inspecting your subfloor for any damage or imperfections. Ensure it is clean, dry, and free of debris. Any debris or unevenness can lead to complications later on. Vacuum the area thoroughly to eliminate dust and dirt.
2. Level the Surface
If your subfloor has uneven areas, you may need to level it out. Use a self-leveling compound or plywood to fill in low spots. The goal is to create a flat surface that will support your flooring evenly. The last thing you want is to end up with uneven floors.
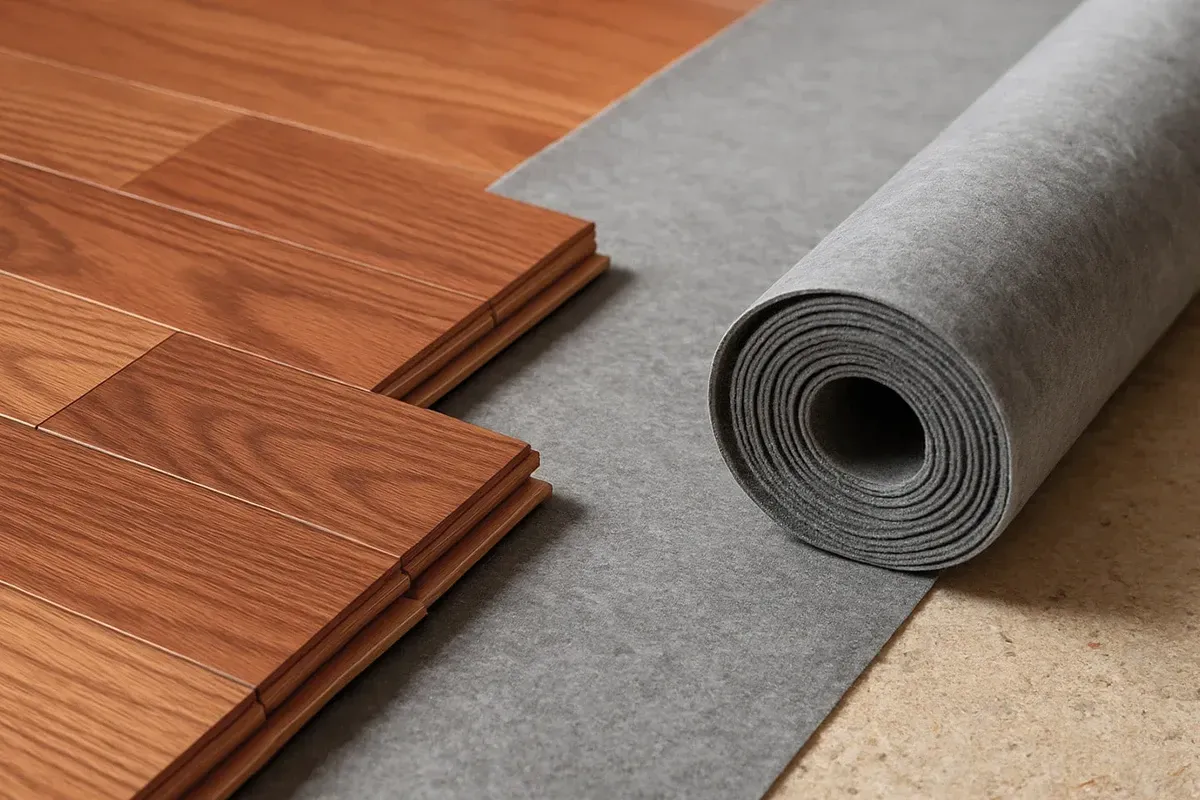
3. Consider Underlayment
In areas with significant height differences in the subfloor, consider using underlayment. This additional layer can help smooth out the surface and provide sound insulation and moisture protection, which is particularly important in areas prone to humidity.
Changing Direction: The Step-by-Step Process
Once your subfloor is prepared, it’s time to change the direction of your flooring using splines. Follow these steps for a successful installation:
1. Plan Your Layout
Before you start cutting, plan your layout carefully. Determine where you want the direction change to occur and how you will use splines in your design. Visualize the final look, and consider laying out some sample planks to see how they fit together.
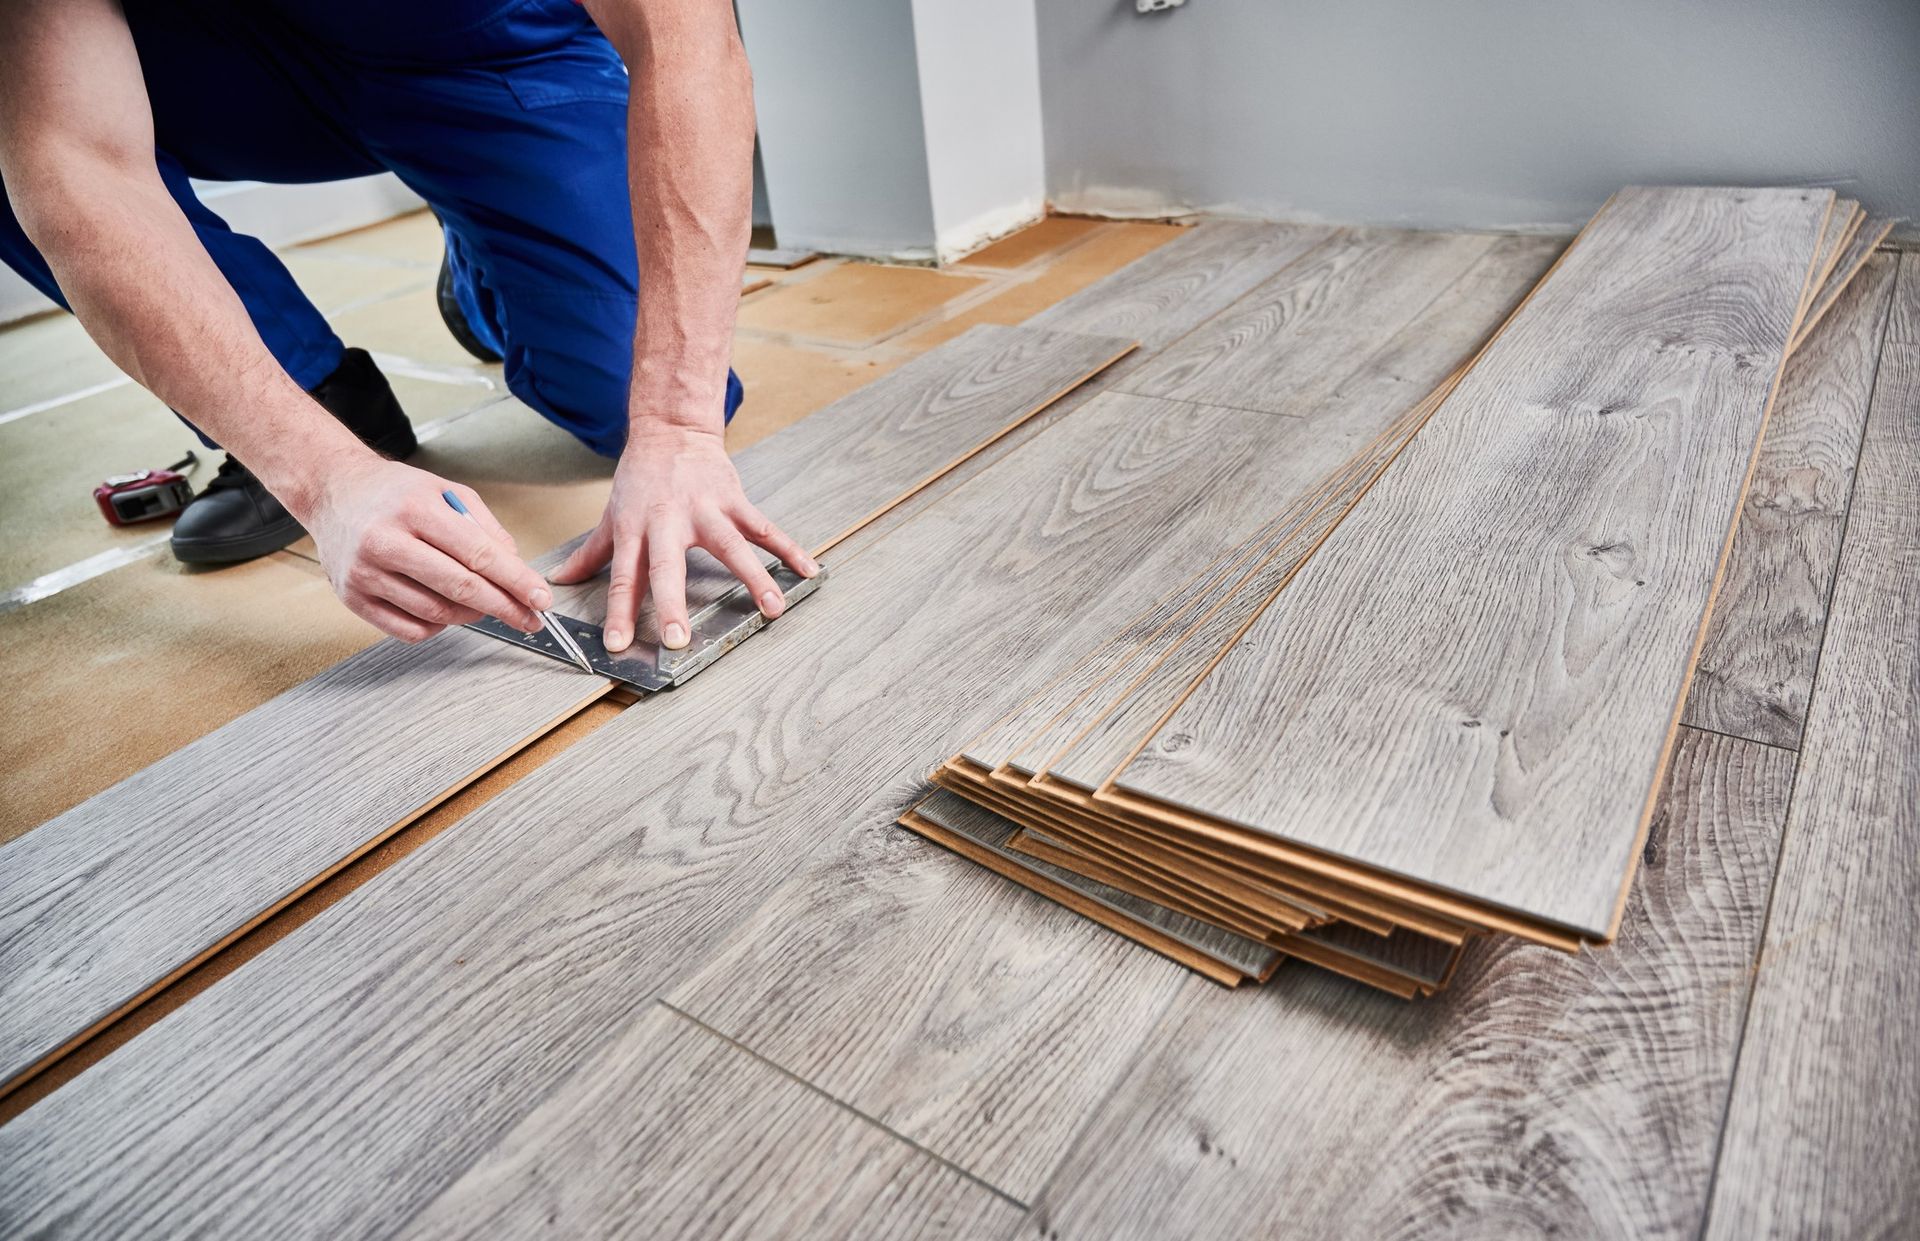
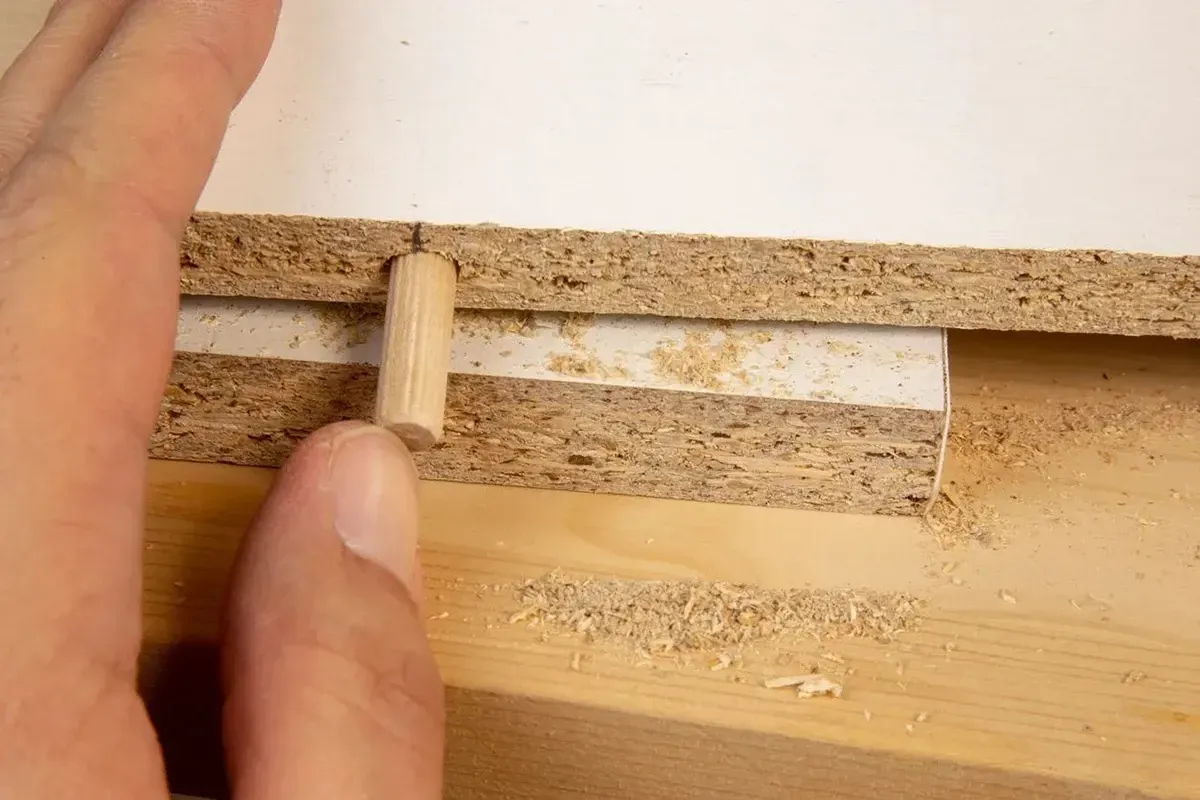
2. Cut the Groove
To change the direction of the planks, you will need to cut a groove into the edge of the row of planks where the direction change will occur. Use a table saw or router to create a groove that is the appropriate width for your spline. This groove is essential for accommodating the spline, ensuring a snug fit.
3. Mark the Tongue
The planks in the new direction will need to be marked with a tongue that fits into the groove you’ve just cut. This step is crucial for creating a secure connection between the two planks.
4. Insert the Spline
Slide the spline into the groove you’ve carved. Ensure it fits snugly and aligns perfectly with the tongue of the adjacent planks. The connection should be tight to maintain the structural integrity of the flooring.
5. Apply Adhesive
Once the spline is in place, it’s time to secure the joint. Apply wood glue or adhesive to the groove in the first row of planks and the spline itself. This adhesive will help to ensure that the planks remain firmly connected and prevent any movement that could lead to gaps or damage.
6. Join the Tongued Planks
After applying the adhesive, slip the tongued planks into the hardwood flooring spline. Ensure they fit snugly against the spline for a secure connection.
7. Clamp and Secure
While the adhesive dries, use clamps or weights to hold everything tightly linked. This pressure will help create a strong, locked-in joint, ensuring your flooring remains stable and secure.
Want to know more about changing floor direction and combining materials? Read about Different Wood Floor Transitions.
Tips for Achieving a Professional Finish
Using a spline is like having a secret weapon for maintaining that flawless look, even when changing directions. Here are some tips to help you achieve a polished and professional appearance:
1. Use the Same Wood Type
For a cohesive look, consider using splines made from the same wood type as your flooring. This ensures that the color and grain patterns match, creating a seamless appearance.
2. Maintain Consistent Widths
When cutting grooves and tongues, ensure that the widths are consistent. This consistency will help maintain the structural integrity of your flooring and create a visually appealing result.
3. Take Your Time
Rushing through the installation process can lead to mistakes and a less-than-perfect finish. Take your time to ensure each step is completed correctly, and don’t hesitate to seek professional assistance if needed.
4. Consider Professional Help
If you’re unsure about your ability to install flooring with splines, consider hiring a professional. An experienced installer can ensure the job is done right, saving you time and potential headaches down the line.
Conclusion: Let Your Floors Strut Their Stuff
When it comes to hardwood flooring, why settle for a straight and narrow path? Embrace the splines and let your floors take a stylish detour. Changing direction with splines not only enhances the aesthetic appeal of your flooring but also ensures a sturdy and professional finish. So go ahead, change direction, and let your floors showcase their beauty in a way that's anything but ordinary.
Thanks for hanging out with us! For expert advice and assistance with your wood flooring projects, visit our website or call us today at (503) 989-8997. Stay tuned for more tips and tricks from your friends at Rejuvenation Floor & Design in Portland, Oregon.
About the Author:
Levi Winkler is the owner of Rejuvenation Floor & Design, where he has been helping homeowners and businesses transform their spaces with high-quality flooring for over 16 years. Based in Portland, Oregon, Levi specializes in hardwood flooring, as well as luxury vinyl, laminate, and more. With decades of hands-on flooring installation and restoration experience, Levi is known for his attention to detail, product knowledge, and commitment to long-lasting results. He works closely with clients to ensure every flooring project is tailored to their style, needs, and budget.
Recent Articles